
Figma to Elementor Workflow: Complete Guide 2026
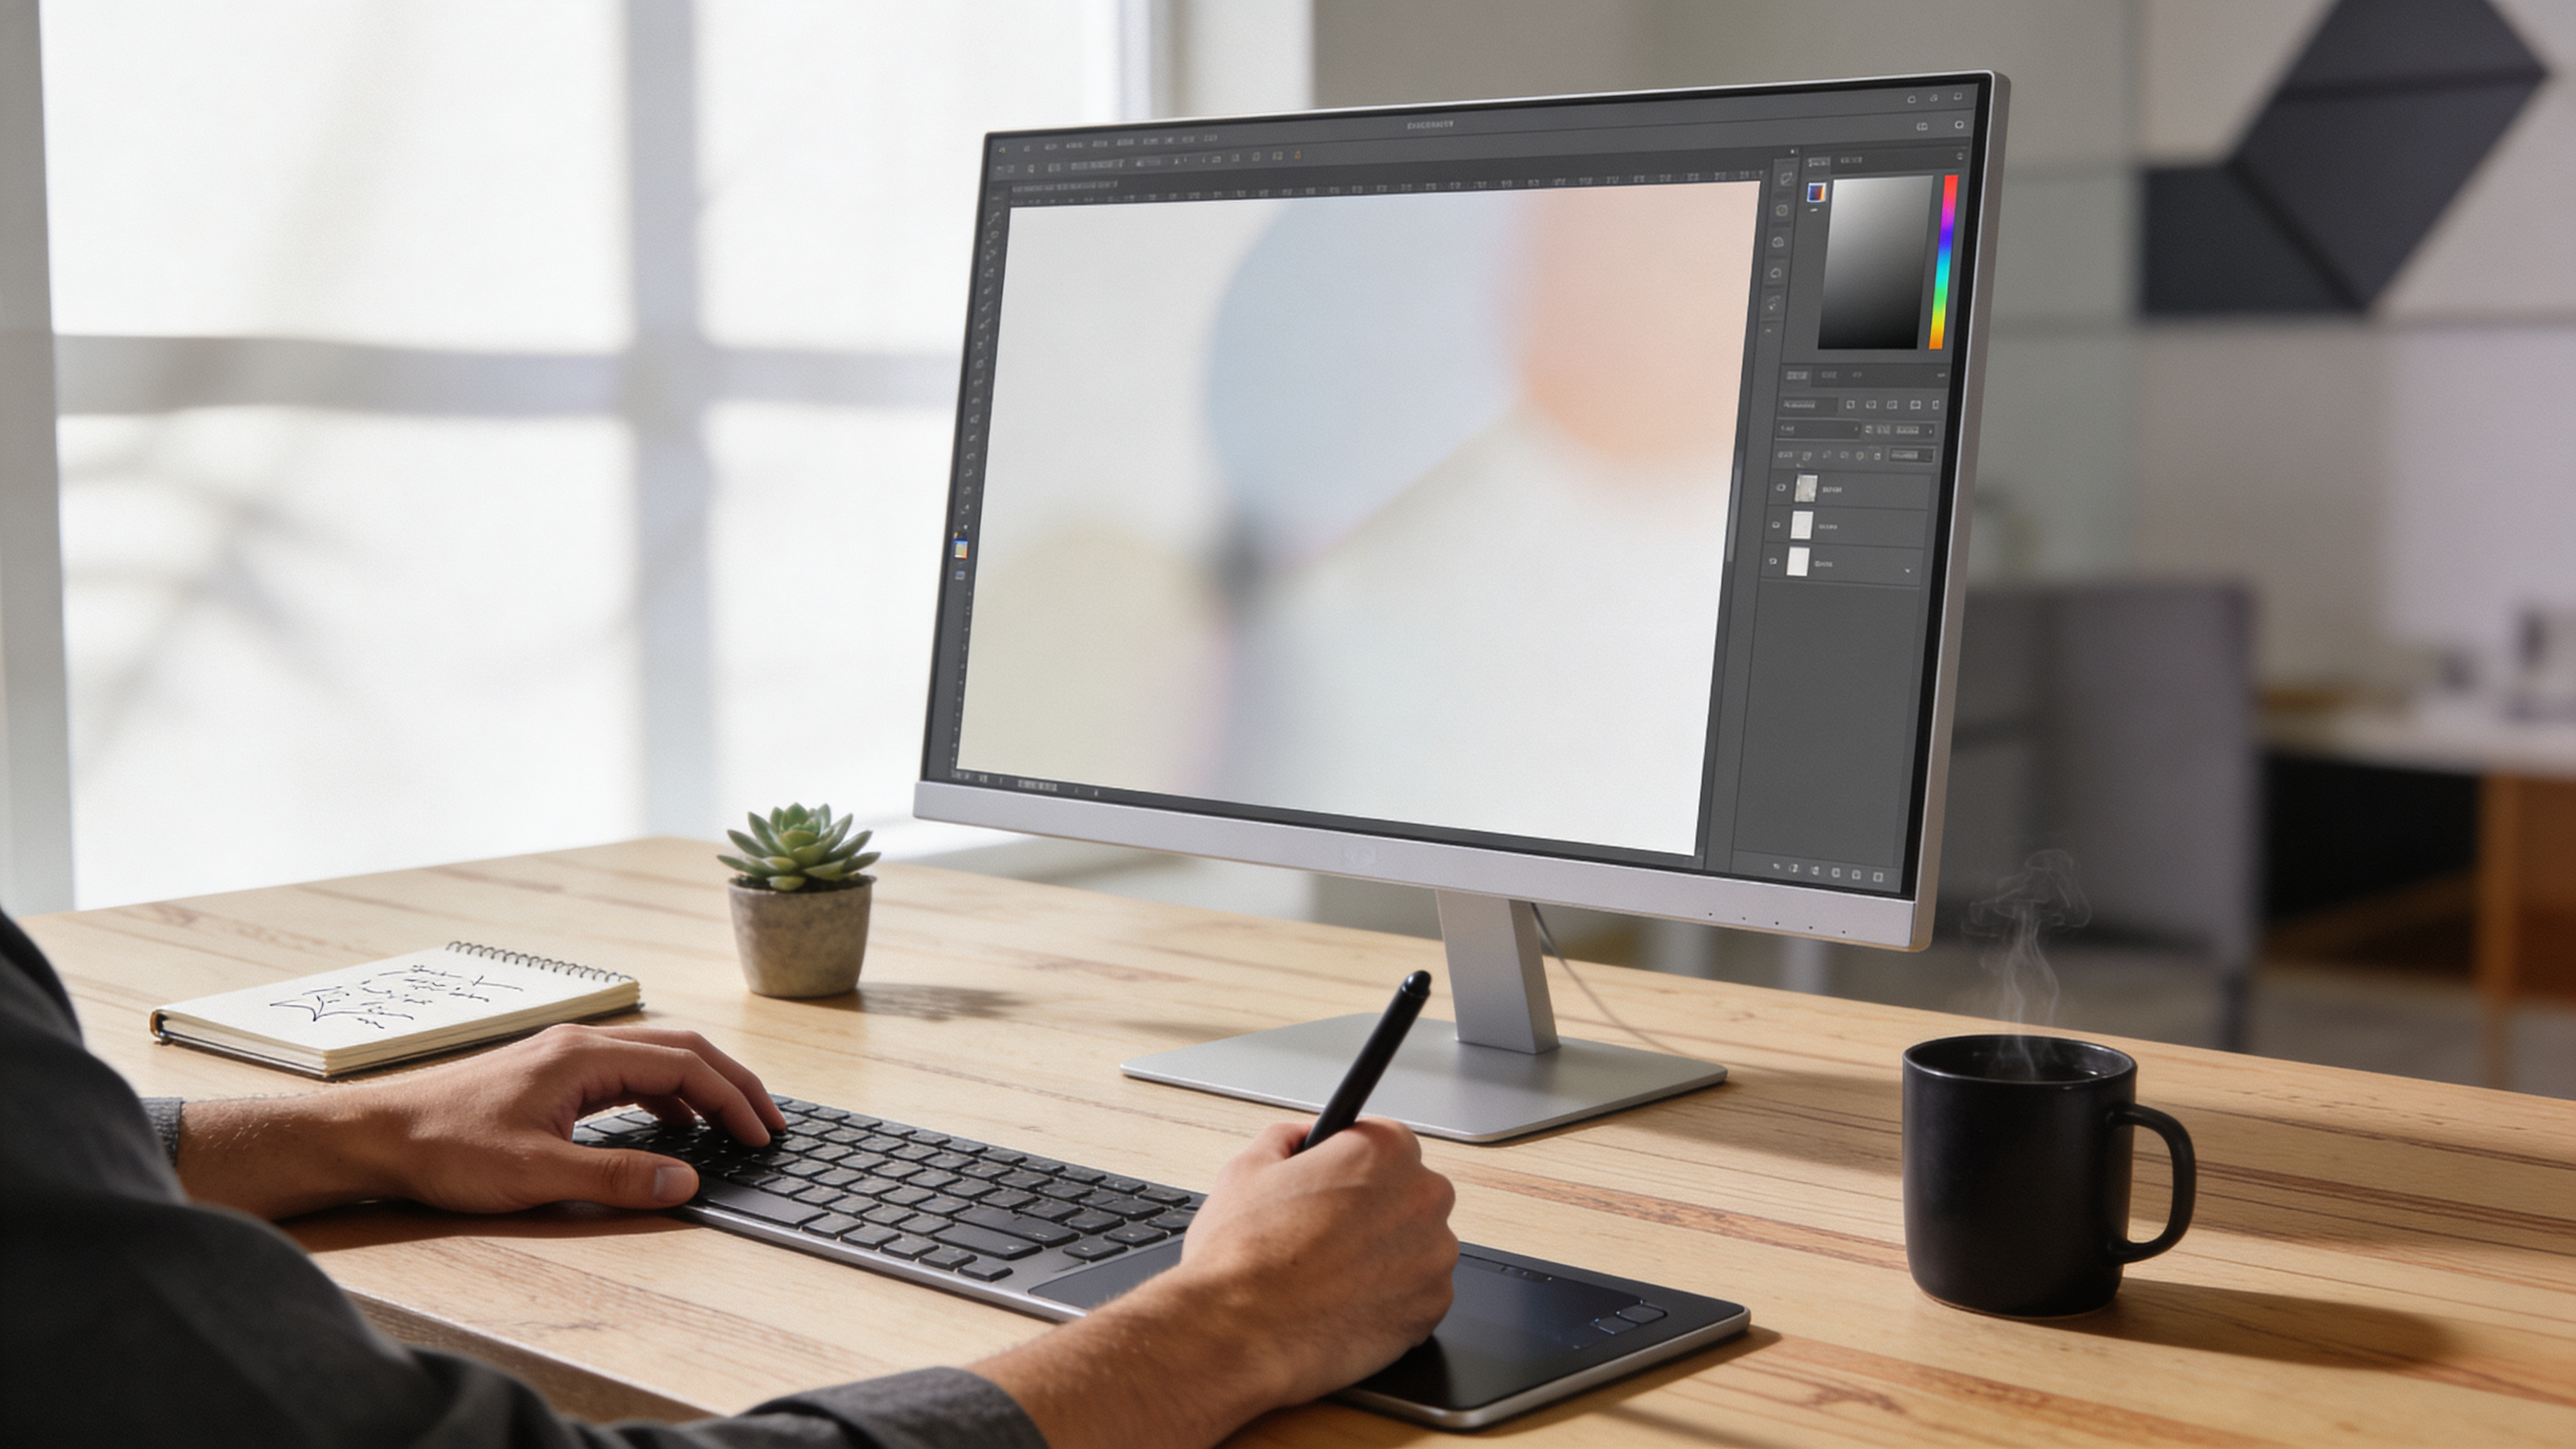
You finished the Figma design three days ago. The client signed off. Now you’re sitting in Elementor, manually recreating 38 sections eyeballing padding values, re-selecting font weights, and wondering why the spacing between your hero headline and subtext looks slightly wrong at 768px. You’ve done this before. It took you six hours last time, and you swore you’d find a better workflow.
This manual rebuild cycle costs agencies and freelancers an estimated 4–8 hours per page, depending on complexity. Multiply that across a 10-page site, and you’re burning an entire work week on translation — not design, not development, just copying values from one tool to another. Mistakes compound: a missed letter-spacing here, a hard-coded pixel width there, and suddenly the responsive version breaks in ways you won’t catch until client review.
By the end of this guide, you’ll have a complete Figma-to-Elementor workflow — from design prep through final responsive QA — that reduces conversion time by 60–80%. You’ll know exactly how to structure Figma files for clean export, which conversion methods match your project scope, how to handle the responsive breakpoint gap between Figma and Elementor, and where automation saves the most time.
Quick Start: The 4-Phase Workflow at a Glance
If you’re short on time, here’s the framework. Each phase is covered in detail below.
| Phase | What You Do | Time (Manual) | Time (Automated) |
|---|---|---|---|
| 1. Design Prep | Structure Figma file for export: naming, auto-layout, component cleanup | 30–60 min | 30–60 min (same) |
| 2. Asset Export | Extract images, icons, fonts, and design tokens | 45–90 min | 5–10 min |
| 3. Build/Convert | Recreate or convert the layout in Elementor | 3–6 hours/page | 15–45 min/page |
| 4. Responsive QA | Test and adjust tablet/mobile breakpoints | 1–2 hours/page | 30–60 min/page |
The prep phase stays manual regardless — garbage in, garbage out. But phases 2–4 are where automation tools collapse hours into minutes.
Phase 1: Structuring Your Figma File for Clean Export
The single biggest predictor of a smooth Figma-to-Elementor conversion isn’t the tool you use — it’s how well-organized your Figma file is before you start. A messy Figma file produces a messy Elementor build, whether you’re converting manually or using automation.
Use Auto-Layout Everywhere It Makes Sense
Elementor’s Flexbox Container widget maps directly to Figma’s auto-layout. If your Figma frames use auto-layout with proper gap, padding, and alignment settings, those values translate cleanly into Elementor container properties.
Where auto-layout matters most:
- Navigation bars — horizontal auto-layout with space-between alignment
- Card grids — wrap-enabled auto-layout with consistent gap values
- Content sections — vertical auto-layout stacking headline, body, and CTA
- Footer columns — horizontal auto-layout with defined widths
Where you can skip it: decorative elements with absolute positioning (floating badges, background illustrations) don’t need auto-layout. These get positioned manually in Elementor regardless.
Naming Conventions That Save Build Time
Name your Figma layers the way you’d name Elementor sections. This sounds trivial until you’re staring at 47 layers called “Frame 238” trying to figure out which one is the pricing table.
Use this pattern:
Section / [Section Name]
  Container / [Container Purpose]
    Widget / [Widget Type] - [Description]
Example:
Section / Hero
  Container / Hero-Content
    Widget / Heading - Main Title
    Widget / Text - Subtitle
    Widget / Button - Primary CTA
  Container / Hero-Image
    Widget / Image - Product Screenshot
This convention does two things: it makes manual rebuilds faster (you can scan the layer tree like a build checklist), and it helps automation tools map layers to the correct Elementor widgets.
Clean Up Components and Variants
Before export, detach any component instances you’ve customized beyond recognition. If you overrode the text, swapped the icon, changed the padding, and modified the color — that instance is effectively a unique element. Detach it so conversion tools don’t try to map it back to a base component that looks nothing like it.
Keep intact the components you’re using consistently (buttons, cards, form fields). These map well to Elementor’s global widgets or saved templates.
Phase 2: Extracting Design Tokens and Assets
Design tokens — your colors, typography scales, spacing values, and shadows — are the bridge between Figma and Elementor. Extracting them correctly prevents the death-by-a-thousand-cuts problem where your live site almost matches the mockup but nothing is quite right.
Colors and Typography
Export your color palette and typography styles before touching Elementor. You need:
- Global colors: primary, secondary, accent, text, background, and any status colors
- Typography scale: font family, weight, size, line-height, and letter-spacing for each text style (H1–H6, body, caption, button)
In Elementor, set these up as Global Colors and Global Fonts under Site Settings before building any pages. This takes 15–20 minutes upfront but saves hours of per-element styling later.
Spacing System
Figma designs typically use an 8px spacing system (8, 16, 24, 32, 48, 64, 80). Document your spacing scale and use it consistently in Elementor’s padding and margin fields. If your Figma design uses padding: 24px 32px on a section, use those exact values — don’t eyeball it.
Image and Icon Export
Export images at 2x resolution for retina displays. Use these formats:
- Photos: WebP (with JPEG fallback) at 80% quality
- Icons: SVG, always. Don’t export icons as PNG.
- Illustrations: SVG if possible, WebP if they contain complex gradients or textures
Batch-export using Figma’s built-in export settings or a plugin like TinyImage. Name files descriptively: hero-product-screenshot.webp, not image-1.webp.
Phase 3: Building the Elementor Layout
This is where workflows diverge dramatically. You have three paths, and the right one depends on your project scope, budget, and how much control you need.
Method A: Full Manual Build (Best for 1–3 Unique Pages)
You rebuild every section in Elementor by hand, referencing the Figma file side-by-side.
When to use it: One-off landing pages, highly custom layouts with complex animations, or projects where you need granular control over every Elementor setting.
The process:
- Set up Global Colors and Fonts from your token export
- Build section-by-section, top to bottom
- Use Elementor’s Flexbox Container (not the legacy Section/Column structure)
- Copy exact values from Figma: padding, gap, border-radius, shadows
- Add responsive overrides as you build each section
Time cost: 3–6 hours per page for a typical marketing page with 8–12 sections.
Common mistake: Building with Elementor’s old Section → Inner Section → Column structure instead of Flexbox Containers. In 2026, there’s no reason to use the legacy layout. Flexbox Containers match Figma’s auto-layout model directly, support nesting, and produce cleaner HTML.
Method B: Hybrid Approach (Best for 4–10 Pages)
You use a conversion tool for the heavy lifting — layout structure, typography, spacing — then manually refine interactions, animations, and responsive edge cases.
When to use it: Multi-page sites where manually rebuilding every page is impractical but you still need fine-tuned control over specific sections.
The process:
- Prep the Figma file (Phase 1 above)
- Run the conversion through a Figma-to-Elementor tool
- Import the generated JSON into Elementor
- Audit each section: fix any spacing drift, swap placeholder images for optimized assets, and adjust responsive breakpoints
- Add interactions (hover effects, scroll animations, form logic)
Time cost: 45–90 minutes per page, including QA.
Tools like Figmentor handle the conversion step by mapping Figma frames to Elementor containers, preserving auto-layout properties as Flexbox settings, and generating importable JSON. The output typically nails desktop layout and typography — the refinement work is mostly on responsive breakpoints and interactive elements.
Method C: Full Automation Pipeline (Best for 10+ Pages or Recurring Projects)
You build a repeatable pipeline: Figma design → automated conversion → Elementor import → scripted QA checks. This is the agency workflow.
When to use it: High-volume projects, productized service agencies, or any team converting Figma designs to Elementor on a weekly basis.
The process:
- Establish Figma file standards (naming conventions, auto-layout requirements, component library)
- Configure conversion tool settings once (breakpoint mappings, default widget preferences)
- Convert entire pages or site sections in batch
- Run responsive QA with a checklist (covered in Phase 4)
- Deploy via staging → client review → production
Time cost: 15–30 minutes per page after initial pipeline setup. Setup itself takes 2–4 hours.
Choosing Your Method
| Factor | Manual (A) | Hybrid (B) | Automated (C) |
|---|---|---|---|
| Pages per project | 1–3 | 4–10 | 10+ |
| Custom animations | Heavy | Moderate | Light |
| Team size | Solo | Small team | Agency team |
| Recurring projects | No | Sometimes | Always |
| Cost per page (time) | 3–6 hrs | 45–90 min | 15–30 min |
Most freelancers and small studios land on Method B. It’s the sweet spot between speed and control.
Phase 4: Solving the Responsive Breakpoint Gap
Here’s the honest limitation of any Figma-to-Elementor workflow: Figma and Elementor handle responsive design differently, and no tool fully eliminates the gap.
The Core Problem
Figma doesn’t use breakpoints. You design separate frames for desktop, tablet, and mobile — or you use auto-layout constraints and hope things reflow logically. There’s no cascade, no media queries, no inheritance between viewport sizes.
Elementor uses three breakpoints by default (Desktop, Tablet at 1024px, Mobile at 767px), and every setting cascades downward. If you set a heading to 48px on desktop, it stays 48px on tablet unless you explicitly override it.
This mismatch means:
- Figma’s “tablet” frame might be designed at 768px wide, but Elementor’s tablet breakpoint kicks in at 1025px and below
- Font sizes that look right in a Figma tablet frame may be too large in Elementor’s tablet view
- Auto-layout “wrap” behavior in Figma doesn’t always match Elementor’s flex-wrap implementation
The Fix: A 5-Point Responsive Audit
After every conversion (manual or automated), run this checklist:
1. Typography scale at each breakpoint Check every heading and body text size at desktop, tablet, and mobile. Typical adjustments:
| Element | Desktop | Tablet | Mobile |
|---|---|---|---|
| H1 | 48–64px | 36–48px | 28–36px |
| H2 | 36–48px | 28–36px | 24–28px |
| Body | 16–18px | 16px | 15–16px |
| Button | 16–18px | 16px | 14–16px |
2. Container padding Desktop sections often use 80–120px vertical padding. On mobile, that creates huge empty gaps. Reduce to 40–60px on tablet and 32–48px on mobile.
3. Grid-to-stack behavior Three-column grids should stack to two columns on tablet and one column on mobile. In Elementor’s Flexbox Container, set the wrap behavior and adjust the child width percentage per breakpoint.
4. Image sizing Hero images and full-width banners need explicit height or aspect-ratio constraints on mobile. Without them, tall images push content below the fold.
5. Hidden elements Some desktop elements — large decorative graphics, secondary CTAs, verbose text blocks — should be hidden on mobile using Elementor’s responsive visibility toggle. Don’t just shrink them; hide them entirely if they don’t serve the mobile user.
Custom Breakpoints for Complex Projects
Elementor Pro lets you add custom breakpoints (e.g., 1440px for large desktop, 480px for small mobile). If your Figma file includes designs for widths beyond the standard three, add matching breakpoints in Elementor under Settings → Breakpoints before you start building. Changing breakpoints after the build cascades changes across every page.
Handling Design Tokens at Scale: CSS Variables vs. Elementor Globals
For projects with extensive design systems — 20+ colors, multiple typography scales, complex shadow systems — you need a strategy beyond clicking through Elementor’s Global settings UI.
The Elementor Global Settings Approach
Works for: projects with fewer than 15 global colors, 6–8 text styles, and one designer maintaining the system.
Set up everything in Site Settings → Global Colors and Global Fonts. Reference these globals in every widget. When the client changes the primary color from #2563EB to #1D4ED8, you update it once and it propagates site-wide.
Limitation: Elementor’s global system doesn’t support spacing tokens, shadow tokens, or complex design token hierarchies. If your Figma design system has named tokens like space-lg = 32px or shadow-card = 0 4px 6px rgba(0,0,0,0.1), Elementor has no native way to centralize these.
The CSS Custom Properties Approach
Works for: design-system-heavy projects, agency teams managing multiple sites from a shared token set.
Define your tokens as CSS custom properties in Elementor’s Custom CSS (or a child theme stylesheet):
:root {
  --color-primary: #2563EB;
  --color-secondary: #7C3AED;
  --space-sm: 8px;
  --space-md: 16px;
  --space-lg: 32px;
  --space-xl: 64px;
  --shadow-card: 0 4px 6px -1px rgba(0, 0, 0, 0.1);
  --radius-md: 8px;
  --radius-lg: 16px;
}
Then reference var(--space-lg) in your Elementor custom CSS fields. This lets you change a spacing value once and have it update everywhere — something Elementor’s native globals can’t do for spacing.
Trade-off: You can only use CSS variables in Elementor’s Custom CSS fields, not in the visual UI inputs (padding, margin, etc.). This means some values still need to be set manually in the editor and documented so your team knows to update both locations.
Common Conversion Pitfalls and How to Fix Them
No workflow is bulletproof. Here are the issues that trip up even experienced teams, along with concrete fixes.
Pitfall 1: Font Rendering Differences
Figma renders fonts with its own anti-aliasing engine. Browsers use the OS-level renderer. The result: fonts look slightly thinner or bolder on the live site than in Figma.
Fix: Don’t chase pixel-identical font rendering — it’s impossible across browsers and operating systems. Instead, audit the visual weight at each heading level and adjust font-weight or font-size by 1–2px if a heading feels noticeably lighter or heavier than the design.
Pitfall 2: Figma “Fill Container” vs. Elementor Width Behavior
Figma’s “Fill Container” on a child element means “take up all available space.” In Elementor’s Flexbox Container, the equivalent is setting the child’s width to grow or 100%. But if multiple children have “Fill Container” in Figma, they share space equally — while in Elementor, you may need to explicitly set flex-grow: 1 on each child for the same behavior.
Fix: When you see “Fill Container” in Figma, set the corresponding Elementor widget’s width to Grow in the Advanced → Layout panel. For fixed-width children (“Fixed” in Figma), use explicit pixel or percentage values.
Pitfall 3: Missing Hover and Interactive States
Figma prototypes can show hover states, but conversion tools typically export only the default state. Every button hover, card hover, link underline transition, and form field focus state needs to be rebuilt in Elementor.
Fix: Before starting the build, screenshot every interactive state from the Figma prototype. Create a checklist. Build all hover and focus states after the layout is complete — batch them for efficiency rather than doing them per-element during the layout phase.
Pitfall 4: Z-Index and Overlap Issues
Figma layers can overlap freely. In Elementor, overlapping elements require either absolute positioning within a container or negative margins. Conversion tools often struggle with overlapping layouts.
Fix: Identify all overlapping elements in the Figma design before conversion. For each, decide whether to use Elementor’s absolute positioning (set the container to position: relative and the child to position: absolute) or a negative margin approach. Document these as exceptions that need manual handling.
Pitfall 5: Ignoring Core Web Vitals
A pixel-perfect conversion that scores 35 on PageSpeed is a failed project. Elementor sites need performance attention.
Fix: After build, run through this performance checklist:
- Lazy-load all images below the fold
- Preload the LCP (Largest Contentful Paint) image — usually the hero image
- Avoid loading unused Elementor widgets (disable them in Elementor → Settings → Features)
- Use a caching plugin (WP Rocket, LiteSpeed Cache)
- Serve images in WebP format
Target: LCP under 2.5 seconds, CLS under 0.1, INP under 200ms.
Automating the Workflow with Figmentor
For teams running this workflow regularly, Figmentor’s pipeline automates the most time-consuming phases. The Figma plugin exports frames with auto-layout properties intact, the platform handles asset optimization and token mapping, and the WordPress plugin imports the result directly into Elementor as native containers and widgets.
The practical benefit isn’t just speed — it’s consistency. When every project follows the same automated conversion path, you eliminate the variance between “the page Sarah built” and “the page James built.” Spacing values match the design. Typography inherits correctly. Container nesting reflects the Figma layer structure.
The areas that still need human attention: hover states, complex scroll animations, third-party integrations (forms, payment gateways), and the responsive fine-tuning covered in Phase 4.
Conclusion: Your Next Step
The Figma-to-Elementor workflow isn’t a single tool or a single technique — it’s a four-phase system: prep the Figma file properly, extract tokens and assets, convert or build the layout, and QA responsive breakpoints with a structured checklist.
Start with your next project. Pick the conversion method that matches your scope (manual for 1–3 pages, hybrid for 4–10, automated for 10+). Set up your Global Colors and Fonts before building the first section. And run the 5-point responsive audit on every page before it goes to client review.
The goal isn’t to eliminate the human from the Figma-to-Elementor workflow. It’s to eliminate the tedious parts so you can spend your time on the work that actually requires a designer’s eye: refining interactions, polishing responsive behavior, and making the live site feel as intentional as the mockup.