
Introduction
Elementor has revolutionized the way designers and developers build WordPress websites, offering a drag-and-drop interface that simplifies the creation of stunning, high-performance sites. Meanwhile, Figma has become the go-to tool for UI/UX designers, enabling seamless collaboration and prototyping.
But what if you could bridge the gap between these two powerful platforms? What if you could turn your Figma designs into fully functional Elementor template kits without manual coding or tedious reconstruction?
In this guide, we’ll explore how to build Elementor template kits directly from Figma, saving time, reducing errors, and ensuring design consistency. Whether you’re a freelance designer, a WordPress developer, or a SaaS team looking to streamline workflows, this process will enhance your efficiency and output quality.
Why Convert Figma Designs to Elementor Template Kits?
Before diving into the “how,” let’s understand the “why.” Converting Figma designs into Elementor template kits offers several advantages:
1. Faster Workflow & Reduced Development Time
- Eliminates the need to rebuild designs from scratch in Elementor.
- Reduces back-and-forth between designers and developers.
- Speeds up project delivery, improving client satisfaction.
2. Design Consistency & Accuracy
- Ensures pixel-perfect translation from Figma to WordPress.
- Maintains brand consistency across all pages.
- Minimizes human error in manual reconstruction.
3. Scalability for Agencies & Freelancers
- Enables rapid prototyping and iteration.
- Allows designers to focus on creativity rather than technical implementation.
- Facilitates the creation of reusable template libraries for future projects.
4. Better Collaboration Between Designers & Developers
- Designers can work in Figma while developers implement in Elementor.
- Reduces miscommunication and revision cycles.
- Encourages a more integrated workflow.
Step-by-Step Guide: Building Elementor Template Kits from Figma
Now, let’s break down the process of converting Figma designs into Elementor template kits.
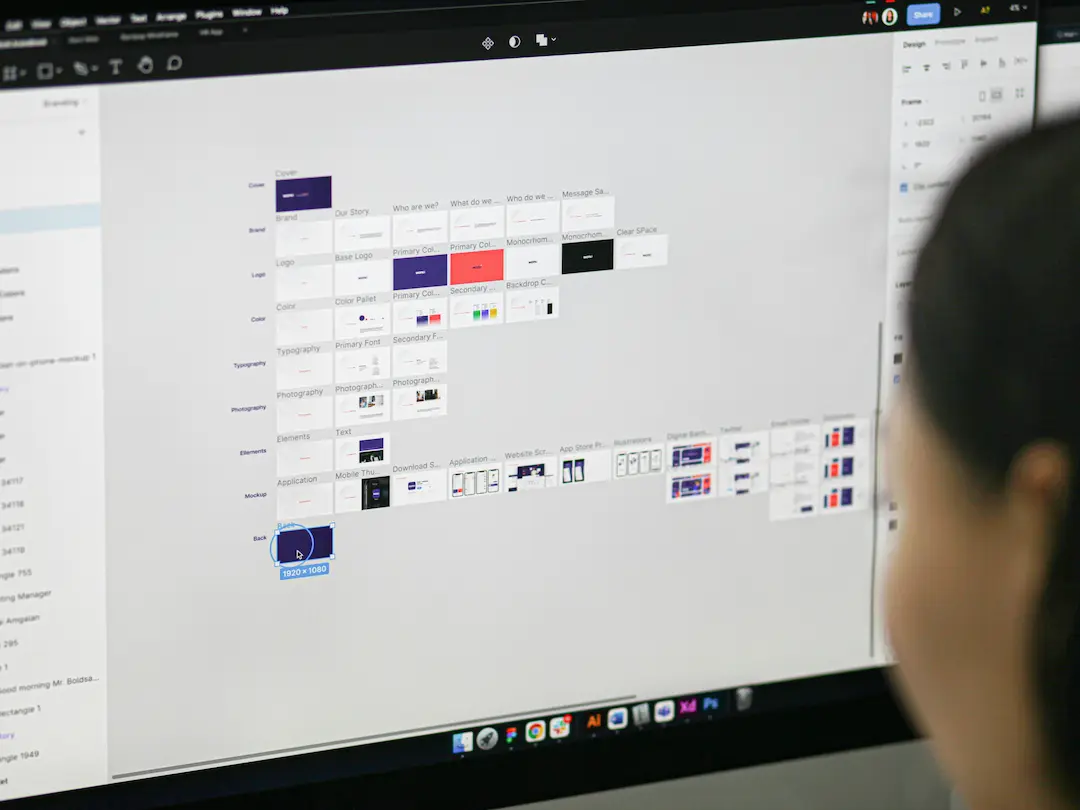
Step 1: Prepare Your Figma Design for Export
Before exporting, ensure your Figma design is optimized for Elementor:
✅ Use Consistent Naming Conventions
- Name layers and groups clearly (e.g., “Hero Section,” “CTA Button”).
- Avoid generic names like “Group 1” or “Rectangle 2.”
✅ Organize with Frames & Components
- Use Figma’s Frames to structure sections (headers, footers, hero sections).
- Leverage Components for reusable elements (buttons, cards, forms).
✅ Check for Elementor Compatibility
- Ensure fonts, colors, and spacing align with Elementor’s capabilities.
- Avoid overly complex animations that may not translate well.
Step 2: Export Assets from Figma
Elementor supports various file formats, but for best results:
📌 Export Images & Icons
- Use PNG for transparency or SVG for scalability.
- Maintain high resolution (preferably 2x or 3x for retina displays).
📌 Extract CSS & Styles
- Use Figma plugins like “Figma to CSS” to extract styles.
- Copy color codes, font sizes, and spacing values for manual input in Elementor.
Step 3: Use a Figma-to-Elementor Conversion Tool
Manual conversion is possible but time-consuming. Instead, use specialized tools to automate the process:
Option 1: Figmentor (Recommended)
Figmentor is a powerful plugin that directly converts Figma designs into Elementor templates.
✅ Key Features:
- One-click import of Figma designs into Elementor.
- Preserves layers, styles, and responsive settings.
- Supports dynamic content and global widgets.
🔹 How to Use Figmentor:
- Install the Figmentor plugin in WordPress.
- Connect your Figma account via API.
- Select the design file and import it into Elementor.
- Adjust elements as needed in the Elementor editor.
Option 2: Manual Conversion with Elementor’s UI Kit
If you prefer a hands-on approach:
Recreate the Layout in Elementor
- Use Elementor’s Container and Section structures to match Figma’s frames.
- Apply global styles for consistency.
Import Assets & Apply Styles
- Upload exported images and icons.
- Manually input CSS for custom styling.
Test Responsiveness
- Use Elementor’s responsive controls to ensure mobile-friendliness.
Step 4: Optimize the Template Kit for Performance
A well-optimized template kit ensures fast loading and smooth user experience:
🚀 Optimize Images
- Compress images using TinyPNG or ShortPixel.
- Use WebP format for better performance.
🚀 Minimize CSS & JavaScript
- Remove unused styles.
- Use Elementor’s built-in optimization features.
🚀 Test Cross-Browser Compatibility
- Ensure the template works on Chrome, Firefox, Safari, and Edge.
Step 5: Package & Distribute Your Template Kit
Once your template is ready, you can:
📦 Export as a Template Kit
- Use Elementor’s Template Library to save sections and pages.
- Export as a .json file for easy sharing.
📦 Sell on Marketplaces
- List your template kit on ThemeForest, Creative Market, or TemplateMonster.
- Offer it as a premium product for recurring revenue.
📦 Use for Client Projects
- Speed up development by reusing pre-built templates.
- Customize templates for different clients while maintaining consistency.
Best Practices for Figma-to-Elementor Workflows
To maximize efficiency, follow these best practices:
1. Standardize Your Design System
- Use a consistent grid system in Figma.
- Define global styles (colors, typography, spacing) for easy replication in Elementor.
2. Leverage Elementor’s Global Widgets
- Convert reusable Figma components into Elementor Global Widgets.
- Update once, apply everywhere.
3. Automate Repetitive Tasks
- Use Figma plugins to batch-export assets.
- Implement Elementor automation tools for bulk edits.
4. Collaborate Effectively
- Use Figma’s commenting for feedback before conversion.
- Share Elementor draft links with stakeholders for review.
Common Challenges & Solutions
| Challenge | Solution |
|---|---|
| Complex animations not translating well | Use simpler interactions or implement via custom code. |
| Font discrepancies between Figma & Elementor | Ensure fonts are web-safe or manually upload custom fonts. |
| Responsive design issues | Test on multiple devices and adjust Elementor’s breakpoints. |
| Layer naming conflicts | Use clear, unique names in Figma for smooth conversion. |
FAQs
1. Can I convert any Figma design into an Elementor template kit?
Yes, but complex designs may require manual adjustments. Tools like Figmentor simplify the process significantly.
2. Do I need coding skills to use Figmentor?
No, Figmentor is designed for no-code users, but basic Elementor knowledge is helpful.
3. How do I ensure my template kit is responsive?
Use Elementor’s responsive controls and test on different devices before finalizing.
4. Can I sell my Elementor template kits?
Absolutely! Many designers sell template kits on marketplaces like ThemeForest or their own websites.
5. What’s the best way to maintain design consistency?
Use global styles in both Figma and Elementor to ensure uniformity across all templates.
Conclusion
Building Elementor template kits directly from Figma is a game-changer for designers, developers, and agencies. By leveraging tools like Figmentor, you can eliminate manual reconstruction, reduce errors, and accelerate project timelines.
Whether you’re creating templates for clients, selling digital products, or optimizing internal workflows, this method ensures efficiency, consistency, and scalability.
🚀 Ready to streamline your workflow?
- Try Figmentor today and start converting Figma designs into Elementor templates in minutes!
Internal Links
- How to Optimize Elementor Templates for Speed
- Best Figma Plugins for Web Designers
- Selling Digital Products: A Guide for Designers
- Elementor vs. Other Page Builders: Which is Best?
- How to Use Global Styles in Elementor
- How to Use Advanced Figma Features to Speed Up Your Elementor Builds
- Figma to WordPress: Complete Automation Guide
- Top Elementor Add-ons for Designers
By following this guide, you’ll not only save time and effort but also enhance your design-to-development workflow for better results. 🚀